Showing posts with label Tutorials. Show all posts

Friday, August 23, 2013

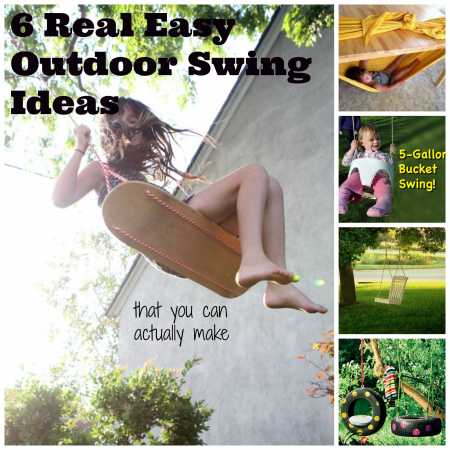
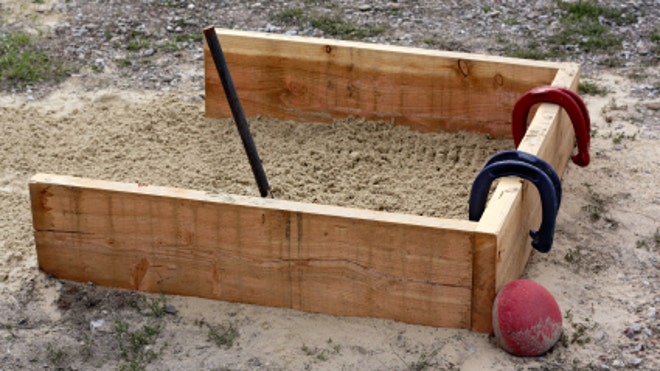
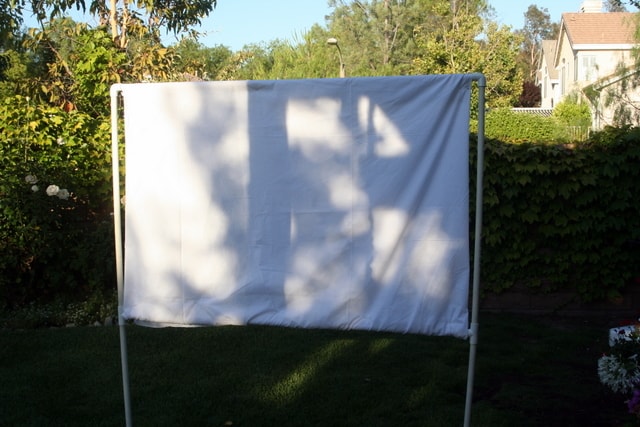
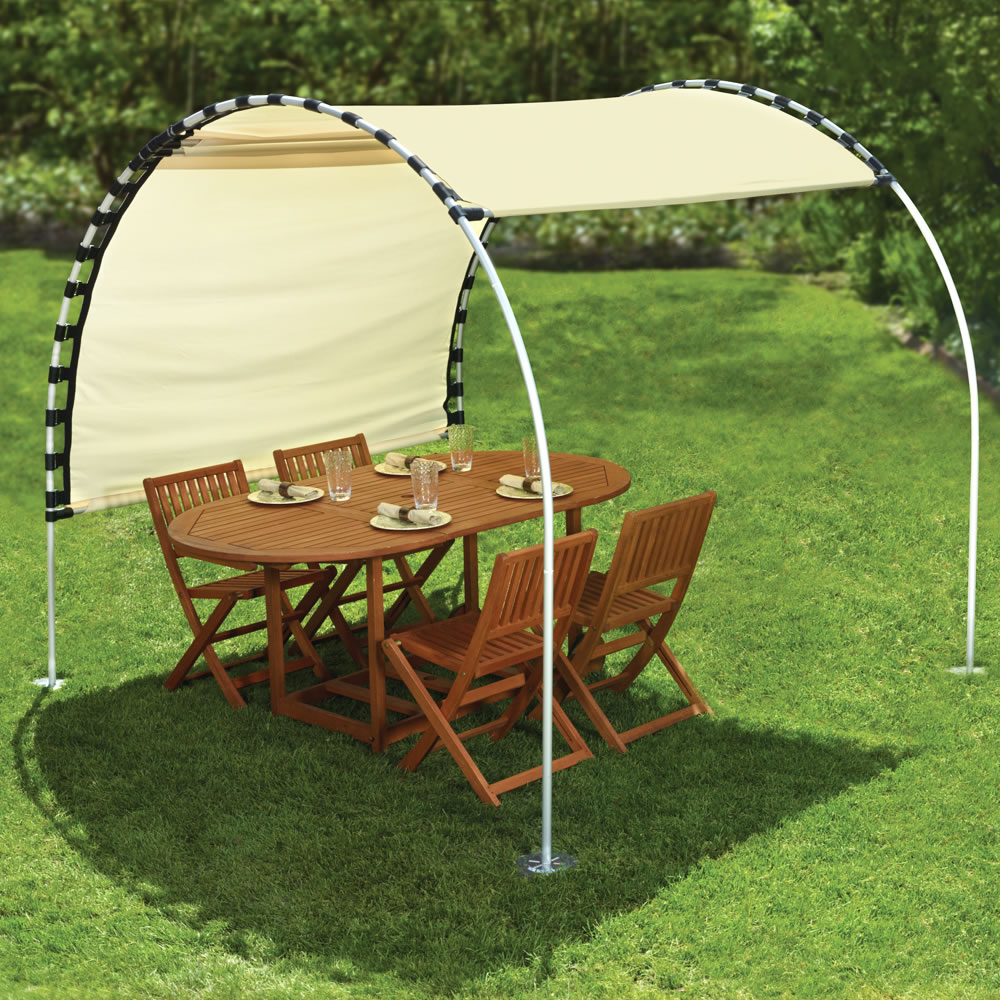
My Top 10 Backyard DIYs

I love the outdoors, and I love DIYs!  Not having a yard is one of the hard things about living in an apartment, but it can't stop me from building dreams of projects I want to do when we do have one!
Pinterest has become my craft/idea hording place :D It is absolutely wayyy to much fun to get on there, but it is such a danger hazard to losing a good chunk of my day on there too. 

All summer long I've been thinking of fun things I would do if I had a backyard.  I miss just sitting and being surrounded by green life all around me.  I've put together some of the ideas that I've been dreaming of to share. Maybe you will have some time and will add one of these fun DIYs to your lovely space! (If you do, please invite me over. I will even help with the DIY!haha ;-) )

So, here they are, my top 10 backyard DIY dreams (In no particular order, I just love them all).
I'm sure there will be plenty more than 10 when I actually do get a yard though ;-)
Enjoy!


Nope, you didn't count wrong, there are actually 11 DIYs that you just viewed.Oops. ;-) I couldn't help but add that last gutter cooler idea. SO neat, right?

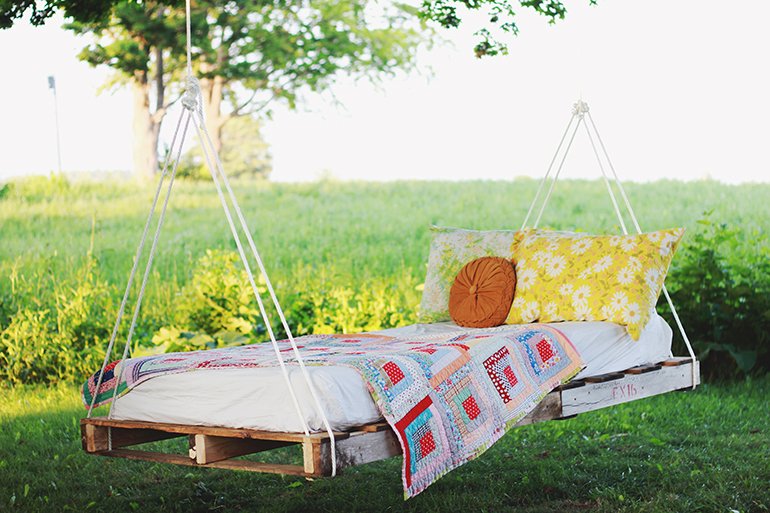
And, just because I'm on a roll, I'm going to share one more. It's a beauty, and will make you want to be right in the picture. 


Awesome! Don't you think? It makes you relax just to look at it :-)

I hope you all have a good weekend! Maybe do a DIY! If you do, please share it!

God bless!

Here is a sneak peak at a upcoming post!


Yes! It's a Big Sister photo shoot! We are excitedly awaiting a new Kennedy baby, due April 2014!
Keep a lookout for the newest baby news post & Alicia's Big Sister photo shoot!


Wednesday, August 7, 2013

How To Make Your Own Printables! FREE!


You've seen printables everywhere. If you have photoshop (I should say, if you have it and know how to navigate the designing aspects of photoshop) then you can make yourself pretty much whatever kind of printable and design you like.  But, if you are like me, and don't own photoshop, then you have to get creative, and you wont have quite so many options. But, you can still make yourself some fun and lovely printables, and I'm going to show you how!

I do most of my design work through a site called picmonkey. There is a lot you can do for free. If you want to get full use of all their features then you do pay a little, but it is very inexpensive.

Here are a few examples of some very simple party printables that I did in under 5 minutes (each) using the free features. 


These are fun for snack or goodie bags.

They also have some cute things to make printables for boys.


Here is how to make your very own!

First, go to www.picmonkey.com

You will see that you have two options, you can 'edit a photo', or 'create a collage'.

If you want to add text to a picture, simply go to 'Edit a Photo' and upload the picture you want to work on.  Once it is on the site you will see all of your options for editing on the left side of the screen.

THE PHOTO EDITING ICONS
Click on the first icon to crop, rotate, re-size etc.
The Second to add an effect to the whole picture.
The Third icon allows you to do detail touch-ups, like teeth whitening and removing blemishes.
The Fourth is where you add text boxes. You can add as many as you like.
The Fifth is where you get shapes, labels and graphics.
The sixth allows you to add a border or frame to your picture.
The Seventh lets you change the texture.
and the Eighth lets you create a theme.

Now, if you want to completely use their graphics and create something new, go back to the main page and lick 'Create a Collage'.

There will be a default collage setting, but you can change that by clicking on the second icon and going through their options, or, you can scroll over that default collage and click the little "x" that is inside of each photo box (in the right corner) to delete some of the areas.  In a like manner you can add more pictures by dragging a picture next to one of the existing boxes and dropping it there (it will take up half the space of the box next to it).

If you scroll over the lines in the collage you will see that you can change the size of any box to suite your needs.

Back to the icons

THE COLLAGE EDITING ICONS
So, the first one is where you download the pictures you want to use in your collage.
And the second one is where you can choose a collage style.
The Third one has an assortment of swatches that can become the background to your collage.
And the Fourth one changes the color of the background (don't have to use a swatch at all), and the shape of the photo boxes (you can round the edges).

If you want to use a plain white background, don't do a thing to the collage. Simply add your photos and go ahead to the photo editing.  Likewise, if you want just a plain white surface to edit with graphics, then simply click 'create a collage' and then go straight to photo editing (don't even worry about sizing it here unless you want a specific size they offer).

To get to the Photo Editor from the Collage:
You will notice these options at the top of the collage page.

'Open' 'Save' 'Share' 'Edit' 'Auto fill' 'Clear All'

Cick 'Edit'. This will take you from the collage section, to the photo editing section.
You will see that you have a clean white board to begin your work.  You can re-size (first icon), add text (Fourth icon), place graphics (Fifth icon), or do whatever you like from here, and when you are done, simply save it to where you want it on your computer,
and Whala! You have your very own printables (or anything else you want to use it for!)

Hope this helps some of you busy budgeting mamas!  I know it can be frustrating to either not know how to make these fun things, or not have the means to buy them! I'm budgeting too!
Hopefully this will help some of you out!
If anything doesn't make sense or you need some additional help feel free to ask in the comments!
Enjoy!

Monday, July 29, 2013

Easy, Framed Shopping List Tutorial!

I've been a bad blogger this past week. Working on way to many projects at once and I can't seem to finish any and take a long enough break from everything else in life to sit down and post about them.  So here is a simple DIY I did today. Pretty self explanitory, but here is a walk-through just in case! 
Have a great week!


I don't know about you, but I will think of half a dozen things to put on my shopping list while I am cooking or cleaning and will forget about them before I can find a pad and pen or my phone to write them down.  Something that worked well for me in my last apartment was to hang a picture frame in (or right outside) the kitchen with a dry erase marker and jot things down there whenever they came to mind.  
Well, I am going to be using the white picture frame I used then in my daughters room and decided to put together my new one today. Here is what I did :-)

What you need (so simple!):

1.Paper of choice to frame 
(I printed out 'Shopping List' in a fun font on some light blue card stock)

2. Picture Frame

3. Cutting Board or scissors


1. Choose some stationary, scrapbook paper, or print off "shopping list" on some cardstock (Like I did. Download PDF and print here), or whatever you want to put in your frame.

2. Cut down to frame size.  I usually do this by taking out the picture the frame comes with, measuring it or holding it up to what I'm framing and then cut accordingly.

3. Using everything that was already in the frame, simply place your piece in front. This will help keep it looking flat and crisp in your frame.

4. Select where you want to hang your easy to use shopping list! Then, grab a small dry erase maker and set it on top of the frame to make it quick and accessible when you want to jot down things you want to remember for your next shopping trip. 

Enjoy!


I've got lots of big projects whirling in my head that I can't wait to work on and share!
What are some things you would like to see?
DIY/Tutorial for Sewing clothing or maybe a home Craft?
What are your needs or what do you want to know how to do?
 Comment with requests and I will see if I can make them happen!


To finish off this tutorial I thought I would share something to make you smile.
Here's something for all the moms out there...:D Enjoy!


Friday, July 19, 2013

Crinkle Tag Toy Tutorial


My little girl loves things that make noise.  Her favorite toys have been an empty water bottle that she pushes around, her wipes crackly plastic container (will refer to as wc from here on), and the large tag on her floor play mat.  I've been keeping the containers after the wipes are all out and giving them to her to play with, and it is from them that I thought of this DIY.


1. Cut 7 pieces of ribbon, each 7"long (or however many at whatever length you desire)
2. Fold in half (right side OUT). On right side of fabric - measure 2 1/8"from each corner and place and pin a ribbon. On longest side measure 1 1/2" from either ribbon and place last ribbon. Pin the ribbons down to the center of the triangle so that they do not get in the way of sewing. Sew ribbons in place and remove outer pins only.
3. Place second half of triangle (right side down) over the ribbons side of other triangle. Pin & sew the two shorter sides, leaving the longest one open to place wc. Remove pins.


4. Remove the hard top of the wc (It should pull off fairly easily) and cut off the sides.
5. Take top corners and fold down, meeting in the center.
6. Fold bottom up, covering the corners you just folded down. (to get sizing correct, try placing inside the sewn triangle, make any needed adjustments)
7. Fold corners over and tape into place


8. Insert wc into the open side of the triangle.
9. Starting at center, turn edges under and pin together.
10. When you reach the end trim the point even with the edge.

11. Open the end with your finger and make sure seam is flat.
12. Turn corner to inside.
13. Finish folding edges under to the ends. Pin.
14. This is how it should look pinned and ready to sew. Starting at any corner, sew 3/8"seam all the way around. 

Whala! You are done! Let your little one play away! :-)


Happy Baby, Happy Momma :-)

This is definitely the most detailed DIY I've done.  I'm working with some new programs and still trying to learn how everything works, but I'm happy with the over all turnout on this one. I have several more that I am working on and excited to share! Thanks for stopping by!

Happy Sewing!