Showing posts with label Recipe Box. Show all posts

Monday, August 12, 2013

First Week of August, 2013 - Baking and DIYs


 I've been making cloth diapers for our little one.  I've done a little research on the different designs.  The design I decided on is a little different, but similar to the Bum Genius brand. The biggest problem I have had with cloth diapers is that they either are thin, and leak, or overly bulky, but catch most everything.  I have been playing with the design to see if I can fix the problem and find a nice medium.  Any thoughts or advice, cloth diaper mamas?

(Most diapers look a little different than the finish product I'm showing here. This one is a size S while the rest I did with the one-size fit all idea, I'm liking them a lot more. I will post some pictures when they are all finished!)


My sewing buddy, Aja.  She knows she is not supposed to be on any tables, but she likes to be close to me so she jumped up on the table and tried to hide :-) lol.


I've been wanting to try this out for a while. I've had several wooden object (I got each for $1. Some are from dollar store some are from Joann's) that I planned on painting with chalk board paint (How to make your own, here). I've had the supplies for a while, just haven't set aside the time to try it out.  This past week I decided to make it happen, and I did! I'm really happy with how they have turned out, and I can't wait to do a few more fun things for around the home :-) (some may end up on my etsy site! :D)


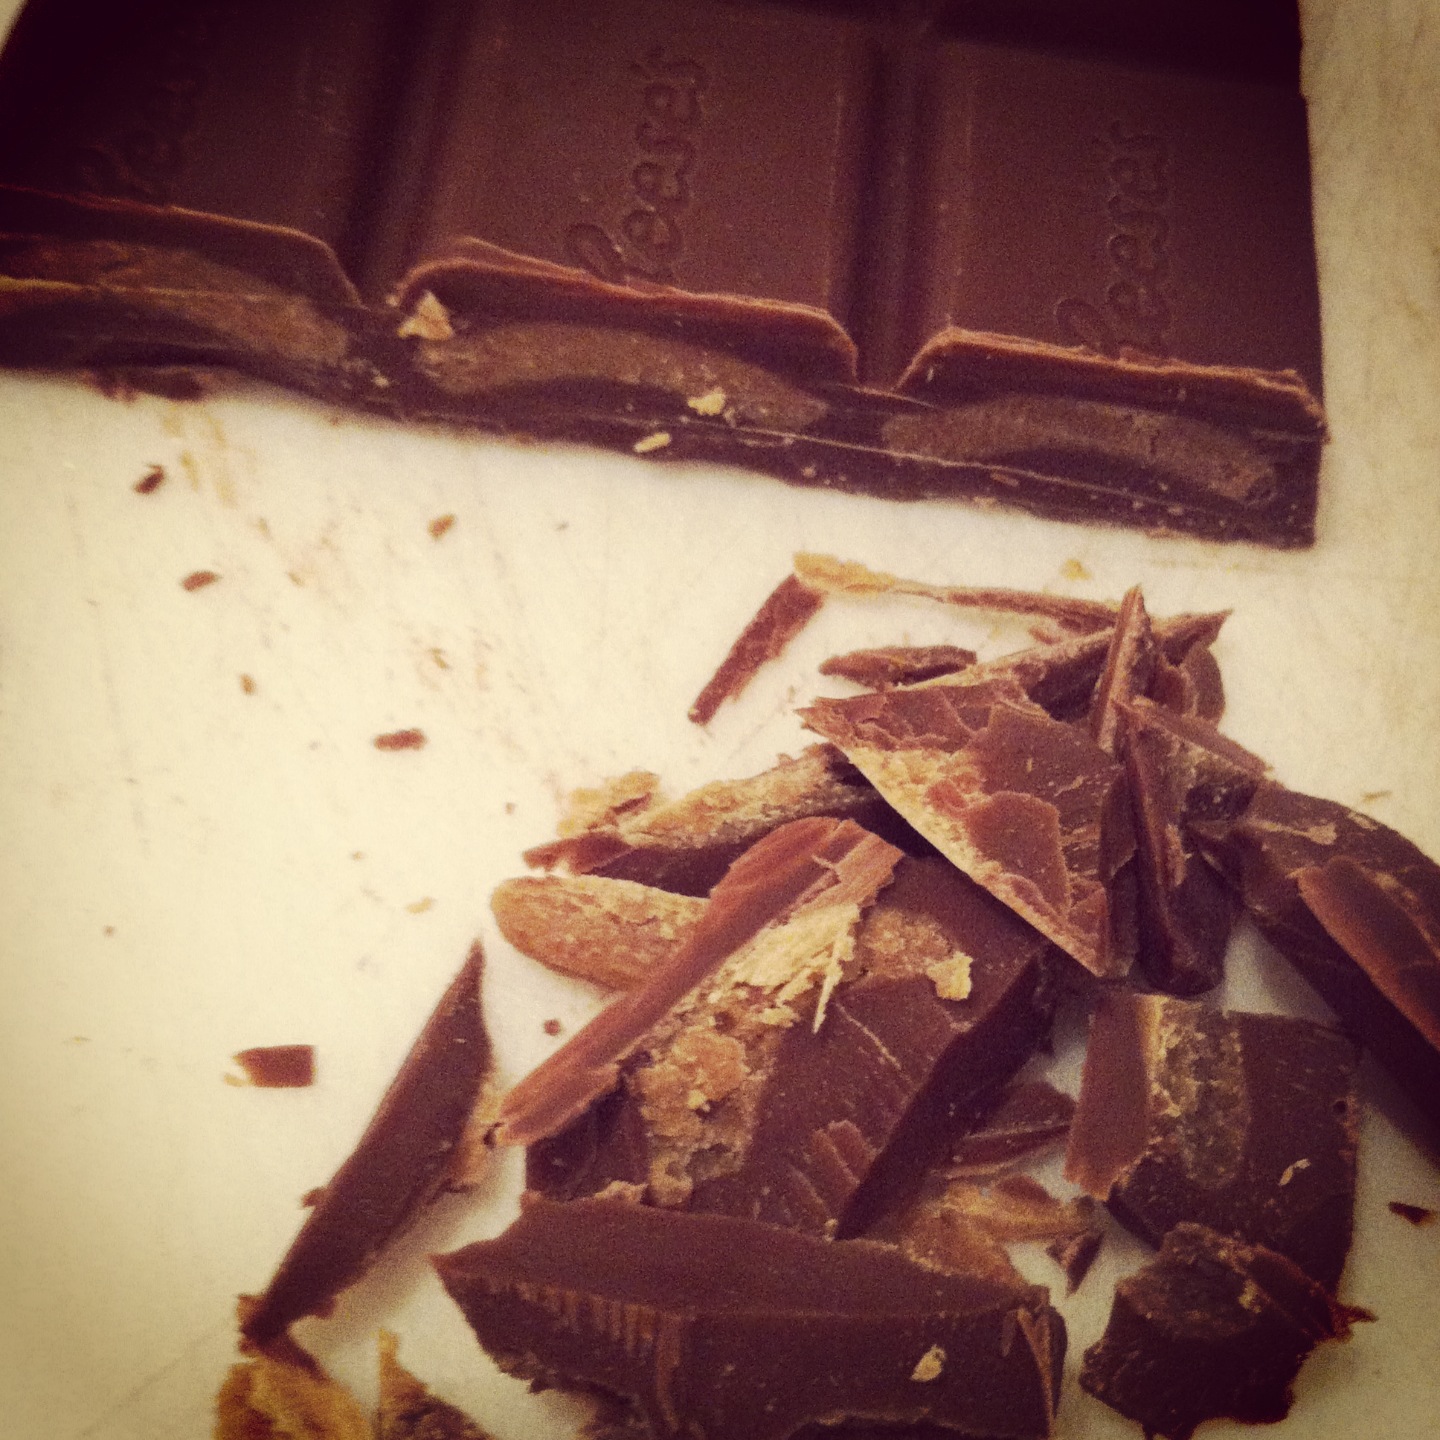
I made these cookies TWICE this past week because they were so good!
Use your favorite chocolate chip recipe (you can try my favorite here) and add chunks of Reeses to it. SO YUMMY!


 And something new and fun; Homemade Carnival Corndogs! They were amazing! I've never been a big fan of corndogs, but for some reason I was craving them and wanted to see if I could make some, so I gave it a shot! Mission accomplished! These were soooooo goooood. (Planning on putting together a blog on the recipe I used ;-) )


Hope Monday has been easy on you! You can smile, it's over! Have a good rest of the week! You are one day closer to the weekend! ;-)

Monday, August 5, 2013

My Favorite Kitchen Seasonings!

I have an assortment of seasonings that are not the run of the mill, salt, pepper, garlic salt, etc.  Some I grew up with and others I have added over the past few years.  My husband and I love a little spicy kick in our food, as I think you will see ;-).
These are some of the seasonings I use on a regular basis.

Make sure to check out the yummy recipes at the bottom as well!
And some baby cuteness...always fun. :-)


I love a good seasoning.  Having some awesome seasonings that you love can make your meal planning and making SO much easier and faster! 
These are what we like.


As I said, my husband and I like it a little spicy.
I'd say at least two of these are used on a daily basis (in particular the N'Orlean's Cajun and Tony's Creole...yum, yum!)

So, on the spicy list, we have.
Franks RedHot
Weber, N'Orlean's Cajun
Stubb's Pork Spice Rub
(Stubb's BBQ is really good as well...not spicy- ;-) )
&
Tony Charcher's Creole Seasoning

Here is a closer look :-)

Yeah, I know it does take a pretty picture. As you can see it is hard to ever have a full bottle around here...it goes fairly fast. (we even add this to our pizza sometimes. SO GOOD!)

Our Favorite use for the BBQ rub is on Crock Pot Pork Shoulder. Simple,
not overwhelming, great flavor. 


Tony's Creole-says it is great on everything...I would have to agree, pretty much an awesome addition to any fish or meat for a little kick.

Spike. Such an awesome seasoning. I highly recommend this to be in every kitchen cabinet.  My favorite use has to be on chicken.  It was a regular (and as I put on the picture, family favorite) to have chicken and rice seasoned with spike growing up.  Another favorite use (especially as kids) was to melt a slice of cheese on toast and sprinkle a little spike on top.
(Give it a shot! You will thank me! ;-) )

This is a great seasoning for any type of pasta dish. Also terrific on fries!

Making a tuna salad or sandwich? Add some Mrs. Dash for some great flavor!
 (This is a Friday regular!)

Toronto Steak & Chicken Rub is the newest addition to our cabinet.
I used it this past weekend on a whole chicken (pictured below)...it was so good!!!!! 
My husband's immediate response after tasting the chicken "This is good, Babe! Really good!"

Here are some instagram pictures I took of a few of our meals from this past week.
 This chicken was pretty simple and we were very happy with the flavor!
I put half a bunch of garlic (4-5 some cloves) and one sliced apple inside, I then mixed butter, Toronto seasoning and just a little Creole and rubbed it onto the chicken underneath the skin (I also rubbed a little inside). I put a little water in the pan along with potatoes and carrots, and cooked in a 350 oven for about an hour and a half.  

This is fried flounder with green beans and corn.
I make my own batter to fry my meats and fish.  I have tried a few different things, and although the seasonings I use may vary (depending on what I'm going for),  this particular combination is great for fish, chicken or fried steak.
I use a flour mixture and an egg/milk mixture to make the yummy fried goodness.
The flour mixture most used is: flour, Cajun seasoning, Creole, garlic powder or salt (depends on how salty you want it), and sometimes a little spike (I use more spike when I am doing fried steak).
Egg mixture is just that, an egg with some milk (maybe 1c. to 1 egg).
 Have both mixtures (separately) in a big enough bowl or pan to lay flat.
Take the fish, put it in the egg and milk. Be sure it gets completely coated in it.
Then, do the same in the flour mixture. You may need to sprinkle it as you coat it in it as well.
Fry for at least 4 minutes (2 on each side-you can always test a piece, like I did, to make sure that it is enough time for it to completely cook)
 Serve with veggies and enjoy!
 

Hope you have a good week! 
Monday is over! Smile!


Monday, July 29, 2013

Easy, Framed Shopping List Tutorial!

I've been a bad blogger this past week. Working on way to many projects at once and I can't seem to finish any and take a long enough break from everything else in life to sit down and post about them.  So here is a simple DIY I did today. Pretty self explanitory, but here is a walk-through just in case! 
Have a great week!


I don't know about you, but I will think of half a dozen things to put on my shopping list while I am cooking or cleaning and will forget about them before I can find a pad and pen or my phone to write them down.  Something that worked well for me in my last apartment was to hang a picture frame in (or right outside) the kitchen with a dry erase marker and jot things down there whenever they came to mind.  
Well, I am going to be using the white picture frame I used then in my daughters room and decided to put together my new one today. Here is what I did :-)

What you need (so simple!):

1.Paper of choice to frame 
(I printed out 'Shopping List' in a fun font on some light blue card stock)

2. Picture Frame

3. Cutting Board or scissors


1. Choose some stationary, scrapbook paper, or print off "shopping list" on some cardstock (Like I did. Download PDF and print here), or whatever you want to put in your frame.

2. Cut down to frame size.  I usually do this by taking out the picture the frame comes with, measuring it or holding it up to what I'm framing and then cut accordingly.

3. Using everything that was already in the frame, simply place your piece in front. This will help keep it looking flat and crisp in your frame.

4. Select where you want to hang your easy to use shopping list! Then, grab a small dry erase maker and set it on top of the frame to make it quick and accessible when you want to jot down things you want to remember for your next shopping trip. 

Enjoy!


I've got lots of big projects whirling in my head that I can't wait to work on and share!
What are some things you would like to see?
DIY/Tutorial for Sewing clothing or maybe a home Craft?
What are your needs or what do you want to know how to do?
 Comment with requests and I will see if I can make them happen!


To finish off this tutorial I thought I would share something to make you smile.
Here's something for all the moms out there...:D Enjoy!


Wednesday, July 24, 2013

The Best Food Blogs -Take#1


I have two favorite food blogs that I think are THE BEST and are always my go-to when I want to look up a recipe.  If I don't find what I need on these THEN I will start searching other blogs through google.  I have tried several recipes from both of these and have LOVED all of them.


She has a new cookbook too!


My favorites from her site so far:

(Tried this one with and without the sugar and we like it better without)

 ( I tweaked it to make it closer to how my mom makes it ;-) But very good!)


(This is a great one to make ahead of time)

 And now for the
These are amazing! This recipe makes A LOT though, so either plan on having some friends over, freezing some, or giving some away. Warning: If you share them plan on making some new best friends and being loved for life.


Another food blog I love;

I absolutely love their bread recipes. I'm going to share my top 3 (although their other recipes look awesome too)


(great with pre-made rollsor your favorite bread roll recipe)


I've also been checking out some Master Chef recipes lately. Watching the show makes me want to cook (and eat).

What are your favorite food blogs?


A few pictures from this past weekend..


Wednesday, July 3, 2013

Best Tabula Recipe EVER

My mom is an awesome cook.  I have been blessed to have had her patience and skill in the kitchen guiding me growing up. Sometimes that patience and care can make an OK dish a "Wow, that's amazing" kind of dish.  I think that Tabula is one of those dishes!

 My mom has lots of amazing recipes, and as time passes, and I get more of the hang of married life and motherhood, I find I call her more and more about how she does this or that or what her secret was to making such-and-such recipe soooo yummy. 
 Well, for the 4th, I have decided to share some of my mother's skill along with one of our favorite family recipes, TABULA! It is seriously amazing! Even our extended family ask if we can make it when they visit!

We are not one of those families that likes to keep our favorite recipes a secret...we LOVE sharing them with everyone!

Tabula Salad

What you will need:


1 1/2 c. Bulgar Wheat
1 Bunch Green Onions
2 Cucumbers
3 Tomatoes
1 Bunch Parsley (Chopped FINELY!)
1/2 c. Oil
1/2 c. Lemon Juice
1 tsp. Salt

Mix all and let set for at least 2 hours, or overnight (I recommend overnight)

The secret to a really great Tabula? Chop EVERYTHING as FINE as you possibly can! It is time consuming, but will make a world of difference! A few more tips and tricks below :-)


These are pics I took earlier this afternoon :D 
We are having this Tabula tomorrow!

Slice and dice that cucumber!


Onion


and those challenging tomatoes...


Now here is where that patience is really going to pay off. And one of the most important things that makes this Tabula so great. Pinch off the Parsley before you chop! You don't want the stems...they only make the Tabula seem stringy.


After you have pinched the whole bunch, grab and squeeze them together and chop them as fine as you can.


Combine Everything, and you are done! I flatten it out the top to help it absorb better, then just pop it into thee fridge. Refrigerate for at least 2 hours, or if you are able to then make it the day before you want to serve it so that all the flavors really come together.


And that's it! Well, it might not seem like much, but give yourself the afternoon to get all the chopping done ;-)

Enjoy!

Friday, May 10, 2013

Homemade Waffles

My husband and I love when we have a longer morning to make a yummy breakfast together.
We decided to buy a waffle maker with what was left on one of our wedding gift cards and we are very happy with our purchase!


These waffles are D-E-L-I-C-I-O-U-S 
I did some searching to find a good recipe and am very happy with this one! 

Homemade Waffle Recipe:

1 3/4 cups unbleached, all-purpose flour
1 tablespoon baking powder
1 1/2 tablespoons sugar
1/4 teaspoon salt
1 3/4 cups milk
2 beaten egg yolks
1/2 cup canola oil
1 teaspoon vanilla
2 egg whites whipped till stiff

Equipment needed
waffle iron 
electric mixer or a metal bowl, whisk, strong arm and patience

NOTES: If the stiffened egg whites are too much trouble, do not separate eggs and add whole eggs to the wet ingredients, fold into the dry. Batter will be lumpy. 

Depending on your waffle iron, you may want to begin preheating. Separate egg whites from yolks. In a large mixing bowl combine flour, baking powder, sugar and salt. Create a well in the center and pour milk, beaten egg yolks, canola oil and vanilla. Mix just until combined. Batter will be lumpy.

Beat eggs whites until stiff. Fold stiffened egg whites into mixture. Batter will be really lumpy. Pour batter into preheated waffle iron. Do not over-fill with batter. Bake until desired color according to settings on your waffle iron.

MAKE AHEAD TIP: To make “toaster waffles” set waffle iron to a lesser setting. Cook waffles until pale, not golden. Allow to cool. Wrap in plastic and freeze. When ready to use, pop into the toaster and enjoy!

Wednesday, April 17, 2013

Handy Home Help - How to revive limp celery :-)

This is a little trick that is coming in handy for me this very day.
It is a simple and easy way to bring that limp celery in your fridge back to life.
There are several ways to achieve the same thing.  One is to place the celery in a bowl of ice water for 30 minutes (give or take), but, being that we live in an apartment and our fridge doesn't have an ice maker, I came up with another way.

All you need is a ziplock bag, some water, and a small bit of space in your freezer.


Step 1:
Chop the celery into sticks.

Step 2:
Place celery in ziplock and fill with enough water to cover the celery.


Step 3:
Place in Freezer for 30 minutes (give or take...today I did 45)


Test the celery after the 30 minutes to see if it is stiff again, if not you can return it to the Freezer (or your ice water).  
It should be noted that if the celery is too old this may not work, but it is worth a try before throwing it out ;-)


Great note left from a friend - "If you can't revive celery (or other limp veg, as long as they aren't soggy or decaying or anything) just throw it in a bag in the freezer where you collect odds and ends for making stock or soup. "